The humble laptop keyboard: a battlefield of productivity and creativity.
But beneath those valiant keycaps lurks a hidden enemy – a treacherous landscape of dust, crumbs, and grime.
Left untamed, this “filthy frontier” can transform your once-responsive keyboard into a sticky, unresponsive mess.
Fear not, fellow warriors! This guide equips you with the knowledge and tools to embark on a deep cleaning mission, restoring your keyboard to its former glory.
The Necessity of Regular Keyboard Cleaning:
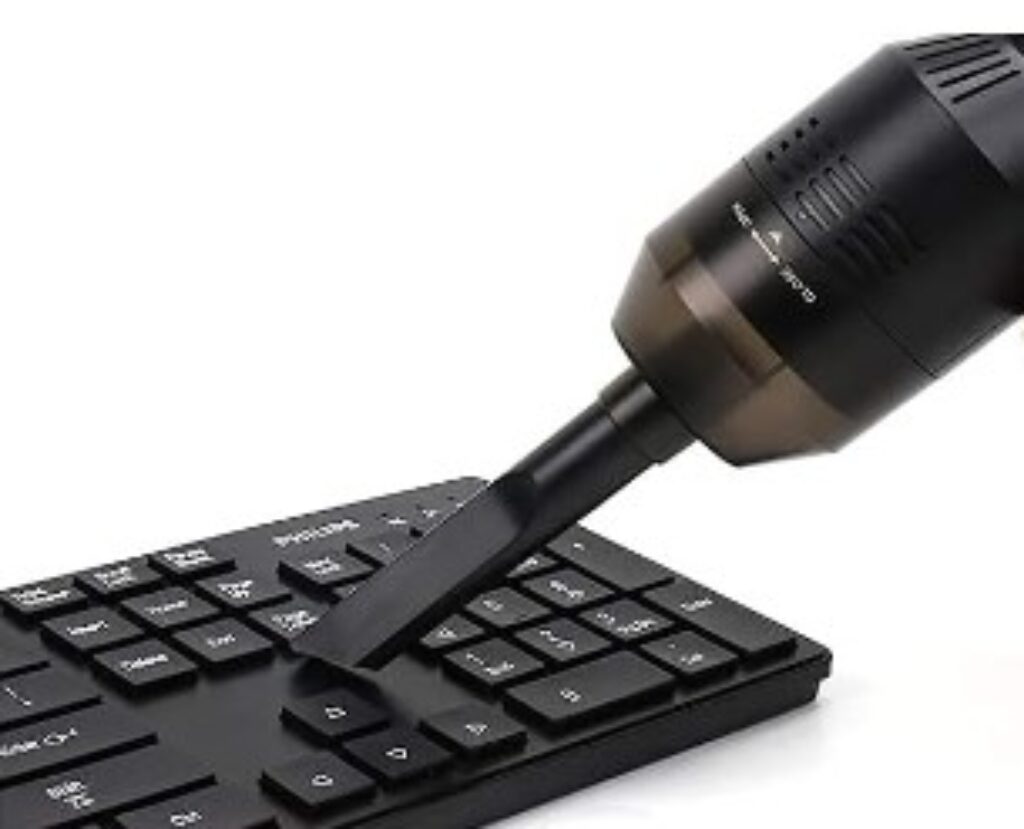
Many keyboard woes stem from a neglected cleaning routine. Over time, dust, dead skin cells, and even food particles accumulate beneath the keycaps, hindering key travel and leading to unresponsive typing.
This not only impacts your productivity but can also harbor bacteria, posing a health risk. Regular cleaning combats these issues, promoting a smoother typing experience and a healthier work environment.
A Step-by-Step Approach to Keyboard Cleaning:
Preparation:
Before venturing into the filthy frontier, gather your supplies:
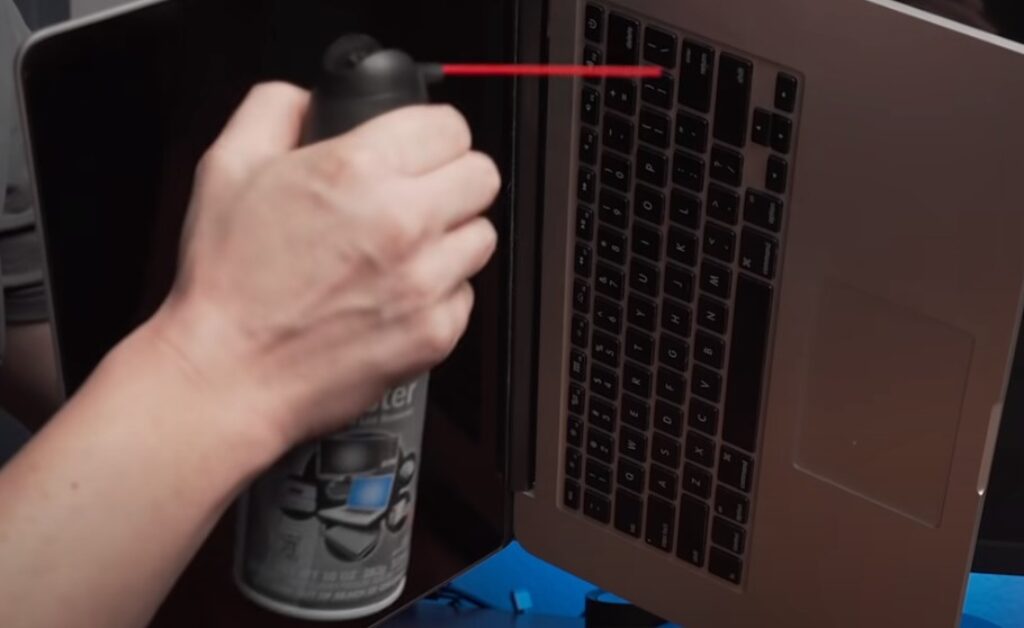
- Compressed Air Canister: A knight in shining armor, blasting away dust and debris with targeted bursts.
- Microfiber Cloth: Your gentle yet effective companion, ideal for surface cleaning.
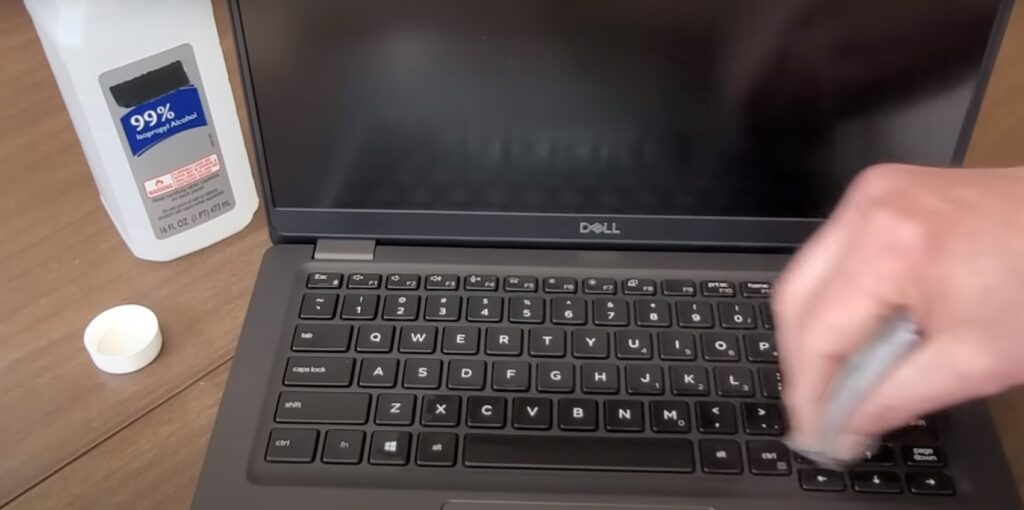
- Isopropyl Alcohol (70%): A potent warrior against stubborn grime, used sparingly with cotton swabs.
- Optional: Keycap puller (for stubborn key removal) and a shallow dish with soapy water (for soaking keycaps).
Safety First!: Always power down your laptop and unplug it from the power source before cleaning. This prevents accidental shorts and protects your device.
Surface Cleaning:
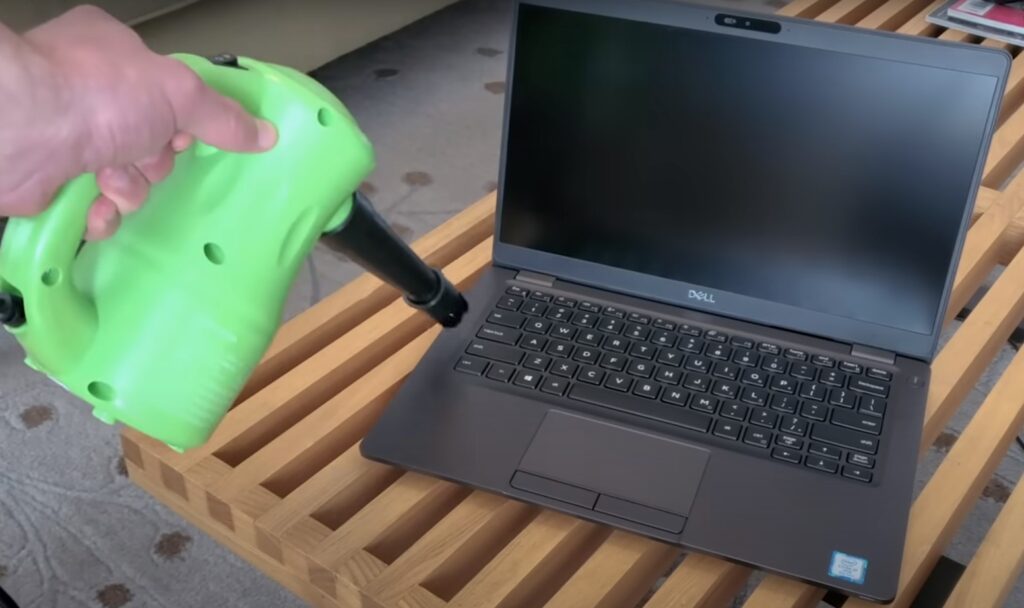
- Compressed Air Cavalry: Deploy the compressed air can, holding it upright and firing short bursts at an angle between the keys to dislodge dust and debris.
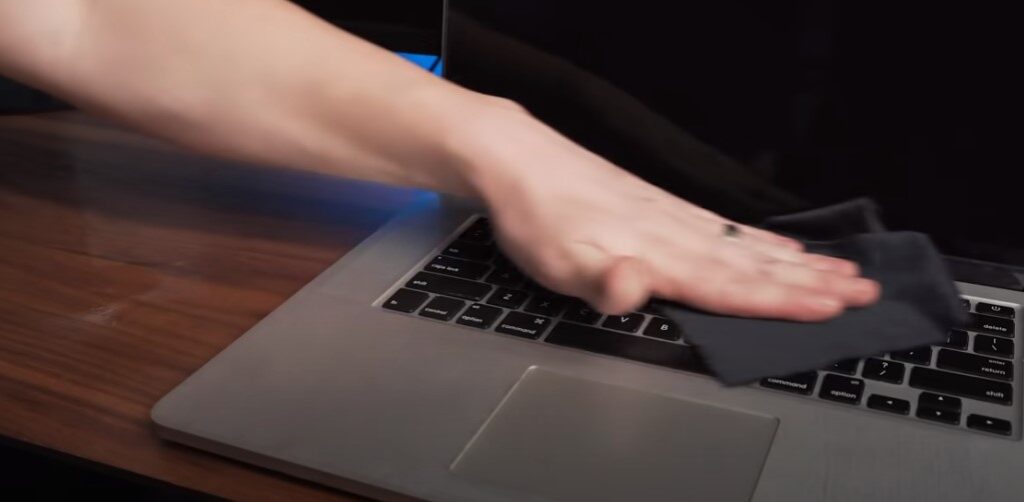
- Microfiber Muster: Lightly dampen your microfiber cloth with distilled water (avoid soaking) and gently wipe the keyboard surface, removing dust and surface grime.
Deep Clean Operations:
For a more thorough clean, consider venturing deeper:
- Keycap Extraction: Consult your laptop’s manual or online resources to identify the keycap removal method. Many keycaps can be popped off with your fingers or a keycap puller (avoid using sharp objects).
- Keycap Cleansing: Soak the keycaps in a shallow dish with warm, soapy water (if heavily soiled). Clean them with a damp microfiber cloth and dry them completely before proceeding.
- Beneath the Keycaps: With a cotton swab dipped in a minimal amount of isopropyl alcohol, carefully clean the area beneath the keycaps, removing any stubborn grime.
Reassembly: Once everything is clean and dry, carefully reattach the keycaps, ensuring they snap back securely into place.
Conquering Specific Challenges:
- Sticky Keys: For mildly sticky keys, try gently rubbing the affected area with a cotton swab dipped in isopropyl alcohol.
- Liquid Spills: In case of liquid spills, immediately power down your laptop, unplug it, and flip it upside down to drain any excess liquid. Do not attempt to power it on again until it has completely dried out. Consider seeking professional help for severe spills to prevent permanent damage.
Keyboard Type Considerations:
There are two main keyboard types:
he two main keyboard types require slightly different cleaning approaches:
- Mechanical Keyboards: These warriors offer a satisfying clicky feel but have exposed switches prone to dust accumulation. Focus on compressed air blasts between keys and around the switches. For a deep clean, remove keycaps with a keycap puller (consult your manual) and clean them individually. Be mindful of the delicate switches beneath.
- Membrane Keyboards: Generally easier to clean due to their flat surface, keycap removal might be more challenging. Compressed air and a damp microfiber cloth are your primary weapons. For stubborn grime, consider the DIY vinegar solution or baking soda paste, but apply them sparingly and avoid soaking the keyboard.
When Professional Help is Needed:
If your keyboard cleaning endeavors prove unsuccessful, or you’re dealing with complex issues like liquid damage, consider seeking help from a reputable laptop repair service.
Post-Cleaning Troubleshooting:
- Non-Functional Keys: If some keys remain unresponsive after cleaning, gently press them a few times to see if they loosen up. In rare cases, the cleaning process might have dislodged a component requiring professional repair.
- Lingering Odor or Residue: For stubborn smells or sticky residue, consult your laptop’s manual or online resources for cleaning recommendations specific to your model.
Maintaining a Clean Keyboard Frontier:
- Regular Cleaning Routine: Establish a regular cleaning schedule (e.g., weekly or bi-weekly) to prevent grime build-up.
- Preventative Measures: Eating or drinking near your laptop increases the risk of spills and crumbs. Consider using a keyboard cover while not in use, and clean up spills immediately to prevent lasting damage.
Essential Tools and Tactics for Keyboard Conquest
Equipping Yourself for Battle:
No valiant warrior ventures into the filthy frontier without the proper arsenal. Here’s your trusty toolkit for vanquishing keyboard grime:
- The Compressed Air Canister: A trusty pneumatic lance, perfect for dislodging dust bunnies and debris from the keyboard trenches.
- The Microfiber Cloth: Your gentle yet effective ally, this lint-free warrior wipes away surface grime with ease.
- The Isopropyl Alcohol (70%) : A potent potion for stubborn stains, wielded sparingly with cotton swabs. Treat it with respect, for too much can damage your keyboard’s delicate surface.
- Keycap Puller (Optional): This specialized tool helps liberate stubborn keycaps for a deeper clean (consult your laptop’s manual before using).
- Shallow Dish with Soapy Water (Optional): For heavily soiled keycaps, this humble basin offers a refreshing bath (ensure complete drying before reassembly).
A Step-by-Step Campaign:
With your tools at the ready, embark on a methodical cleaning mission:
Power Down and Disconnect: No battles are fought with a live power source! Always power down and unplug your laptop before cleaning.
Compressed Air Cavalry Charge: Unleash the compressed air, unleashing short bursts at an angle between the keys to banish dust and debris.
Microfiber Muster: Dampen your microfiber cloth with distilled water (avoid soaking) and gently wipe the keyboard surface, eliminating dust and grime.
Deep Clean Operations (Optional): For a more thorough clean, consider venturing deeper:
Keycap Extraction:
Consult your manual or online resources to identify the keycap removal method. Many yield to gentle prying with your fingers or a keycap puller.
Keycap Cleansing:
Soak heavily soiled keycaps in a shallow dish with warm, soapy water. Clean them with a damp microfiber cloth and dry them completely before returning them to duty.
Beneath the Keycaps:
With a cotton swab dipped in a minimal amount of isopropyl alcohol, carefully clean the area beneath the keycaps.
Alternative Tactics: When Compressed Air is MIA:
Sometimes, compressed air canisters aren’t readily available. Fear not! Alternative cleaning methods await:
- The Straw Shuffle: Utilize a straw to direct your own breath (avoid excessive moisture) into the spaces between keys, dislodging dust particles.
- The Painter’s Tape Ploy: Cut small strips of painter’s tape and apply them to the keyboard, pressing down gently. Lift the tape to remove dust and debris clinging to the surface.
Safest Cleaning Solutions for Your Keyboard:
Your keyboard is a delicate ecosystem. Harsh chemicals can disrupt the balance! Stick to these safe cleaning products:
- Distilled Water: Your best friend for surface cleaning. Avoid tap water, as mineral deposits can leave residue.
- Isopropyl Alcohol (70%): Only for stubborn stains, used sparingly with cotton swabs. Never apply directly to the keyboard.
DIY Solutions for the Resourceful Warrior:
For the resourceful warrior, consider these DIY cleaning concoctions:
- The Vinegar Solution: Mix equal parts white vinegar and distilled water. Dampen a microfiber cloth and use it to wipe the keyboard surface (avoid soaking).
- The Baking Soda Brigade: For stubborn grime, create a paste with baking soda and a few drops of water. Apply it sparingly to affected areas, leave it for a few minutes, then gently brush it off with a soft-bristled brush.
Taming Sticky Keys:
Sticky keys can be a real drag. Here’s how to silence their rebellion:
- Isopropyl Alcohol Offensive: For mild stickiness, gently rub the affected area with a cotton swab dipped in isopropyl alcohol.
- Compressed Air Counterattack: Sometimes, a targeted blast of compressed air can dislodge any trapped debris causing the stickiness.
Venturing Beneath the Keycaps:
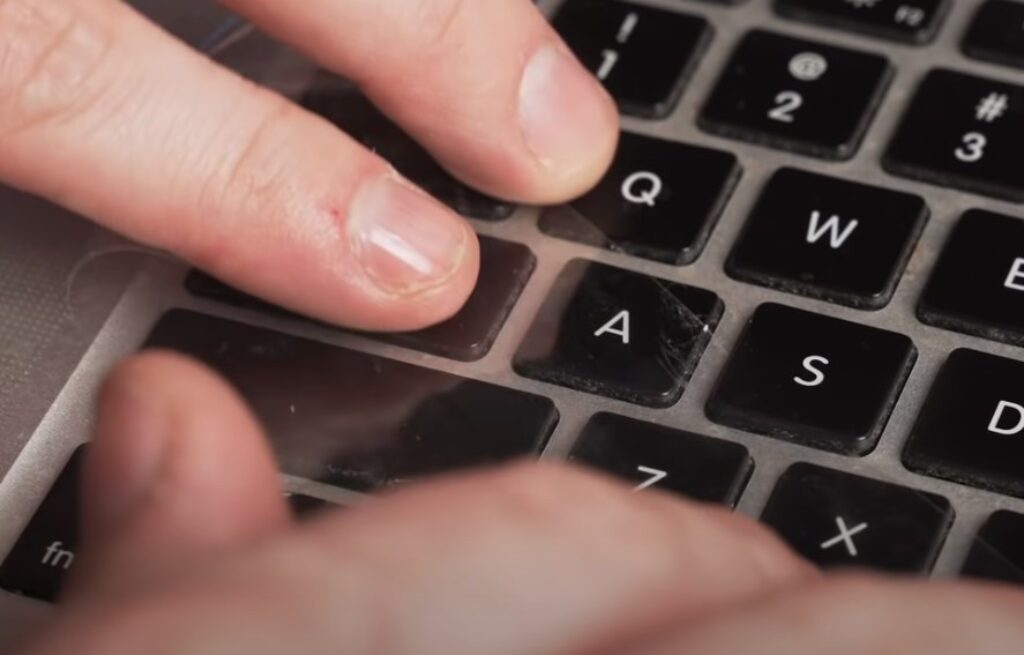
For a truly deep clean, you might need to delve beneath the keycaps. Use caution and follow these steps:
- Power Down and Disconnect: Safety first! Always remember to power down and unplug your laptop before cleaning.
- Keycap Extraction: Consult your manual or online resources to identify the correct keycap removal method.
- Cleanliness Crusade: With a cotton swab dipped in isopropyl alcohol, carefully clean the area beneath the keycaps, removing any stubborn grime.
- Reassembly: Once everything is clean and dry, carefully reattach the keycaps, ensuring they snap back securely into place.
Drying After a Liquid Spill:
Spills can be a keyboard’s worst nightmare! Here’s how to handle them:
- Immediate Action: Power down and unplug your laptop immediately. Flip it upside down to drain any excess liquid.
- Patience is Key: Do not attempt to power on your laptop again until it has completely dried out. This could take several hours or even days.
- Seek Professional Help: For severe spills, especially sugary drinks, consider seeking professional cleaning to prevent permanent damage.
Preventing the Filthy Frontier:
An ounce of prevention is worth a pound of cleaning! Here’s how to keep your keyboard spick and span:
- Establish a Cleaning Routine: Develop a regular cleaning schedule (e.g., weekly or bi-weekly) to prevent grime build-up.
- Mind Your Munching: Avoid eating or drinking near your laptop to minimize the risk of spills and crumbs.
- Keyboard Cover Consideration: Using a keyboard cover when not in use can add a layer of protection against dust and debris.
Cleaning Frequency:
The frequency depends on usage habits:
- Frequent Users: A weekly cleaning is recommended for those who use their laptops daily.
- Less Frequent Users: Bi-weekly cleaning should suffice for those who use their laptops occasionally.
- Heavy Snackers and Drinkers: If you frequently eat or drink near your laptop, adjust the cleaning schedule accordingly to combat potential spills and crumbs.
With these tactics at your disposal, you can confidently conquer the filthy frontier and maintain a clean, healthy keyboard for a more productive and enjoyable computing experience. Remember, a little effort goes a long way in keeping your trusty keyboard functioning optimally for years to come!
Pitfalls to Avoid and Maintaining Keyboard Hygiene
Avoiding Catastrophe: Common Cleaning Blunders
Even the most valiant warriors can make mistakes. Here are some common cleaning pitfalls to avoid:
- The Forgotten Power Down: Never clean your laptop while it’s powered on! This poses a risk of electrical shock and can damage internal components.
- The Soaked Savior: Water is the enemy! Avoid using excessive moisture, as it can seep into the keyboard and cause electrical damage. Opt for a damp microfiber cloth instead.
- The Chemical Conundrum: Harsh chemicals like bleach or ammonia are keyboard kryptonite. Stick to safe cleaning solutions like isopropyl alcohol (used sparingly) or DIY concoctions like vinegar and baking soda (applied carefully).
- The Blunt Force Bruiser: Don’t use sharp objects or excessive force when cleaning your keyboard. This can damage the delicate keycaps and underlying components.
- The Overzealous Scrubber: Scrubbing too hard can damage the keyboard surface. Use gentle motions with your cleaning tools.
Keycap-Free Cleaning: Alternative Strategies
While removing keycaps allows for a deeper clean, it’s not always necessary. Here are some keycap-free cleaning methods:
- The Compressed Air Commander: This trusty tool is your first line of defense, dislodging dust and debris from between keys.
- The Microfiber Maestro: A damp microfiber cloth removes surface grime and dust effectively.
- The Painter’s Tape Ploy: Small strips of painter’s tape can lift dust and debris clinging to the keyboard surface.
- The Straw Shuffle (Last Resort): If compressed air is unavailable, blow gently through a straw (avoid excessive moisture) to dislodge dust particles.
Is Rubbing Alcohol the Keyboard’s Kryptonite?
Not quite, but use caution! Rubbing alcohol (usually 70% isopropyl) can be effective for stubborn stains, but it can also damage the keyboard finish if used excessively. Stick to isopropyl alcohol (70%) and apply it sparingly with a cotton swab.
Isopropyl Alcohol: Wielding it Wisely
Isopropyl alcohol can be a potent tool against stubborn grime, but treat it with respect:
- Power Down and Disconnect: Safety first! Always power down and unplug your laptop before cleaning.
- Dampen, Don’t Drench: Moisten a cotton swab slightly with isopropyl alcohol.
- Target the Stain: Apply the cotton swab directly to the affected area, avoiding excessive contact with the surrounding keyboard surface.
- Less is More: A little goes a long way. Avoid using too much alcohol, as it can damage the keyboard finish.
Disinfecting Your KEYBOARD:
For a deeper level of disinfection, consider these methods:
- Isopropyl Alcohol (Limited Use): As mentioned above, isopropyl alcohol can be used sparingly for spot cleaning.
- Alcohol Wipes (Limited Use): Pre-moistened alcohol wipes can be convenient for disinfection, but choose wipes specifically designed for electronics and avoid soaking the keyboard.
- Disinfecting Sprays (Avoid Direct Spray): Opt for disinfectant sprays designed for electronics. Spray the solution onto a microfiber cloth and wipe down the keyboard surface, avoiding direct contact with the spray.
Cleaning Keys Individually: A Deep Dive
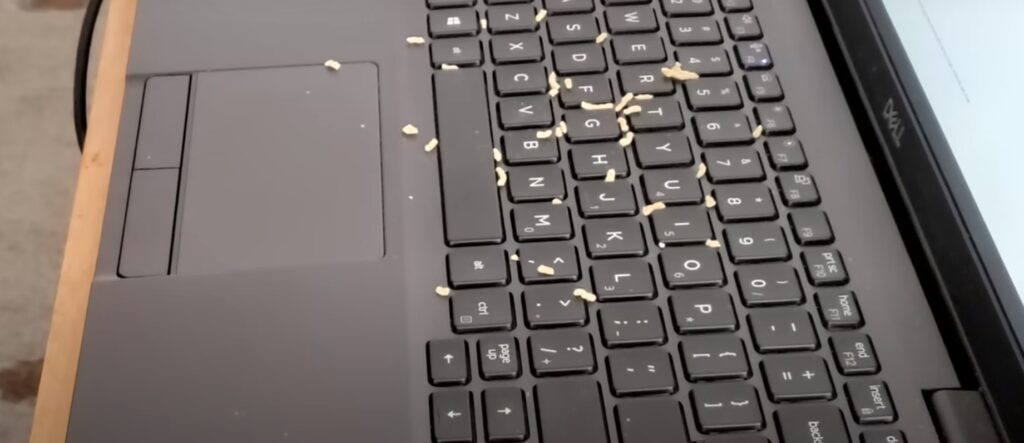
For a truly immaculate clean, removing keycaps can be beneficial. Here’s how (consult your manual for specific instructions):
- Power Down and Disconnect: Safety first! Always turn off and unplug your laptop.
- Keycap Extraction: Identify the correct keycap removal method (some require gentle prying, others have a removal mechanism).
- Soapy Salvation (Optional): For heavily soiled keycaps, soak them in a shallow dish with warm, soapy water.
- Individual Cleaning: Clean each keycap with a damp microfiber cloth and dry them completely before reassembly.
The Rewards of Regular Cleaning:
Cleaning your keyboard isn’t just about aesthetics. Here’s why it matters:
- Improved Performance: A clean keyboard functions more smoothly, preventing sticky keys and missed keystrokes.
- Enhanced Hygiene: Keyboards harbor bacteria and germs. Regular cleaning reduces the risk of spreading germs and promotes a healthier work environment.
- Extended Lifespan: Dust and grime can damage the keyboard’s internal components. Regular cleaning helps your keyboard last longer.
Professional Help: When to Call in the Cavalry
For complex issues like liquid spills or severe damage, consider seeking professional cleaning services. They have the expertise and tools to handle intricate repairs.
The Filthy Frontier: Conclusion – A Warrior’s Continued Vigilance
Remember, fellow warriors, a clean keyboard is a happy keyboard! By following these guidelines and establishing a regular cleaning routine, you can maintain a pristine battlefield for your typing conquests.
Recap: The Importance of Keyboard Cleanliness
A neglected keyboard is a breeding ground for bacteria, a source of frustration with missed keystrokes, and a potential contributor to a shorter lifespan for your trusty laptop. Regular cleaning combats these issues, promoting a more enjoyable and productive computing experience.
Encouragement for Continued Vigilance
Don’t let the filthy frontier claim victory! With a little effort and the knowledge you’ve gained, you can conquer keyboard grime and maintain a clean, healthy typing domain. Remember, a clean keyboard is a testament to your diligence and a symbol of your commitment to a productive and healthy digital life. So, venture forth, valiant warrior, and keep your keyboard clean!


